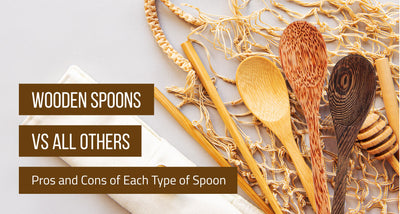
Index
- Overview
- 10 Food Photography Tips
- Define your personal taste or aesthetics
- Find the best spot with natural lighting
- Invest in lighting equipment
- Define the area of focus
- Determine the best angle
- Accessorize, but don’t overdo it
- Get all time-consuming elements ready
- Add a human element
- Touch up with a reliable photo editor
- Bonus: Food Photography Tips from our Ambassador
- Summary
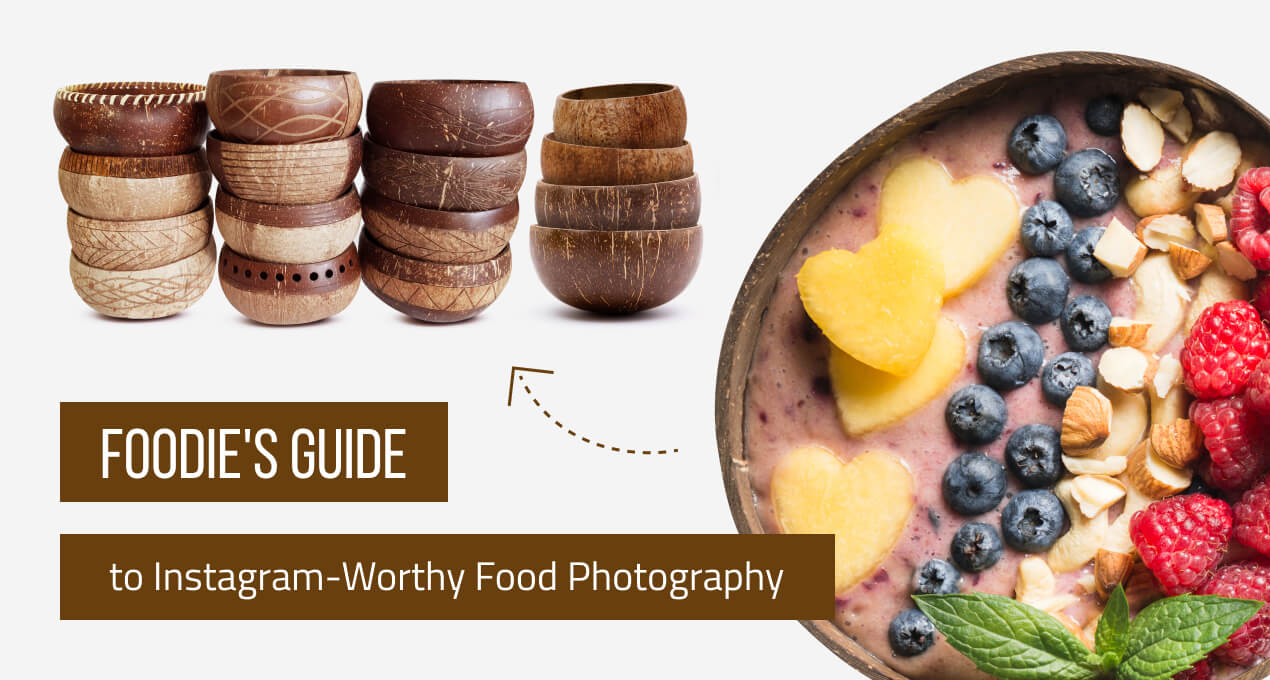
Foodie’s Guide to Insta-mazing Food Photography (Updated 2021)
For many brands, captivating photographs are their main tool to attract followers and customers. This is especially true for restaurants, foodie bloggers and vloggers, and other health and fitness-focused businesses.
After all, who can’t help but stop their mindless scrolling when they stumble upon a delish dish on Facebook or Instagram?
As an eco-kitchen brand, food photography is part of our success strategies at Rainforest Bowls. And because we love our community, we’d love to share some beginner-friendly tips for taking food pictures!

If you’re studying food photography for fun or for your business, following these easy tips will help you out.
Bonus: We attached several stunning photos taken by our brand ambassadors, featuring not only their culinary creations but also the beauty of eco-friendly wooden kitchenware and some food photography tips. Enjoy!
1. Define your personal taste or aesthetics
Simple and clean food pictures are great—but they rarely grab enough attention. If you plan on building a personal brand with food photos, it would make a big difference if your work becomes recognizable through a certain food aesthetic, style, or filter.
Our advice is to put a touch of your personality on your food pictures. You can do this by using the same sharpness and saturation settings on all your photos, maintaining a social media color palette, or adding props that reflect your personality (e.g. a coconut bowl to showcase your love for all things fun and natural).

Take for example the profile above, one of our favorite breakfast Instagram pages. @theskinnydoughnut has a single-style theme with easily recognizable photos. They often post overhead shots of bowls filled with colorful oats, smoothies, and other breakfast meals. After following them for a time, you won’t have to check a lovely random post’s Instagram handle to know that it's from @theskinnydoughnut’s page.
No matter how you define your personal food aesthetics, it all boils down to your personal creative edge. This helps you stand out among all other food photographers out there and make your brand recognizable—all without the need for a watermark.
2. Find the best spot with natural lighting
For most food photographers, natural lighting is the way to go. But that isn’t to say you should simply shoot your food pictures under direct sunlight.
Try taking food pictures near your windows and use a white curtain to diffuse the natural sunlight. Another thing you might want to consider is the weather; overcast or cloudy skies offer the perfect natural lighting for food photography.
If you think that natural lighting isn’t enough, increase your food photo’s exposure, particularly in your photo’s dark areas.
And speaking of dark areas, why not turn shadows to your advantage? You can do this by adjusting your camera’s angle. Like the photo above, the shadows add a certain cozy look of a sweet smoothie bowl in a chill afternoon. When playing with shadows, make sure that they bring out your food’s textures instead of making it look unappetizing.
3. Invest in lighting equipment
Is the weather disagreeing with your photoshoot? If you have the right softbox light or ring light, there’s no cause for alarm.
While natural lighting is ideal, you can recreate that type of light with high-quality artificial lighting equipment. That does not include your household light fixture though, which won’t be able to shine enough light on your subject.
Once you have your lighting equipment set up, make sure that you’re not directing the light at the front. This may bring out superfluous bright spots in your food photos, reduce their color contrast, and make your food look bland.
With the right lighting angle and brightness, you can highlight the textures of your food, making your audience’s mouths water and stomachs grumble.
Photography doesn’t require complicated calculations—it’s art. So play with whatever lighting equipment you have and its angle, and you can identify the right lighting setup you’ll be needing for most, if not all, your food photoshoot sessions.
4. Define the area of focus
When taking food pictures, it’s a good idea to find the area of the frame you want to emphasize. It involves adjusting your camera’s focus and depth of field.
For instance, you might want to try taking close-up shots of your food and reducing the camera’s focus on your background. Doing so can surely enhance the textures and colors of your food.
Another thing you might want to learn is the rule of thirds, a well-known strategy among food photographers and all other photographers. This involves imagining a grid with nine squares and positioning the points of interest in one or more of those parts. It helps you frame your food picture more easily and take interesting and well-balanced shots.
Just like the photo above, you can place the subject (in this case, your food) at the right side of the frame rather than at the center. Taking off-center food pictures can help add a bit more personality to your entire photo and break the monotony of central composition.
5. Determine the best angle
Ever tried taking a bunch of selfies only ending up with one good photo? In those selfies, have you noticed that you often change your head’s tilt and, in the end, choose the photo with your best angle?
The same goes for food photography. But instead of emphasizing your jawline, for instance, you would want to emphasize the fruit toppings of your smoothie in a jumbo coconut bowl.
If you’re taking a photo of your leafy greens, you might want to do it from the side or tilt your lighting equipment in a way that the dressing and other toppings catch enough light at the right angle.
Or try taking the food picture overhead in a flat-lay style to highlight the arrangement of its ingredients.
Side note: Shooting from above is a popular choice in food photography, particularly when your point of interest is food neatly arranged in a bowl.
When determining the best angle of your dish, ask yourself, “What specific side of this food would I like to emphasize?”
6. Accessorize, but don’t overdo it
Yes, adding props is an effective way to give your photo a creative edge. But if those props take the attention away from your subject, minimize them by all means.
Styling your scene requires attaining balance, carefully choosing your tableware and fresh garnish, and preventing it from becoming too busy or cluttered. Don’t just use any accessories that don’t have anything to do with food—they might make your food picture look a bit awkward.

Taking food pictures of smoothie bowls, for instance, calls for the right bowls and utensils, just like a coconut bowl and coconut wood spoon. These all-natural pieces of tableware add a natural, distinctive element that matches your all-natural smoothie to perfection. Plus, they bring up memories of enjoying summer smoothies by the beach!
When choosing your smoothie toppings and other garnishes and plating your food for the photo, you have to factor in their colors. Certain colors relay a certain message to your viewers. Red, orange, yellow, and other warm tones work best to stimulate the appetite; whereas green and white add a natural vibe to food pictures.
Lastly, you have to pick fresh ingredients and garnishes. Browning lettuce and other leafy greens, for instance, can significantly affect how fresh your dish looks. But don’t be too afraid of flaws in your food—they can make it look unique and perfectly imperfect!
7. Get all time-consuming elements ready
Professional food photographers have a lot of tricks up their sleeve, allowing the subject to look as fresh as they were made. And while this can set you at a disadvantage, you shouldn’t get discouraged.
Food becomes too bland-looking too soon, so you have to make the most of your shots while it still looks fresh and immaculate. Before you cook and plate your dish with one of our coconut bowls, you have to get everything set up first—be it a set of props, garnishes, or lighting equipment.
When you have every time-consuming element ready, you can go ahead, start prepping your dish, and take your food pictures.
8. Add a human element
Now that you have your lighting and camera equipment set up and your food plated, it’s time to shoot some food pictures! And why not join in the fun photoshoot session?
Adding your (or someone else’s) hand or face in your food picture helps create a better story to tell your audience. It humanizes the photo, lets it connect and relate to people, and shows scale too. With an added human element, any food picture can make it seem like you’re telling viewers, “Hey, if I can make this recipe, you can easily make this at home too.”
Most of our ambassadors occasionally post photos of themselves with food in handcrafted coconut bowls. Have you noticed how one of these photos (see the photo above) unfailingly show personality, a story, and a relatable side too?
Behind each culinary creation is a creative that brought it to life, and it’s always a good idea to introduce that person (which is you, of course!) to your audience. Just remember to keep your fingernails and yourself clean before joining the photo. You wouldn’t want to see some dirty nails when looking at food, now would you?
9. Touch up with a reliable photo editor
Remember that food photography requires some tricks? Here’s one: photo editing.
Whether you’re a newbie or a pro at food photography, it wouldn’t hurt to know a thing or two about editing photos. If you weren’t able to take the best food pictures, don’t think that you have to go back to square one. A reliable photo editing tool will be your lifesaver.
Adobe Photoshop is a no-brainer when it comes to choosing a great photo editor. But if you’re editing photos on your phone, some good photo editing apps, to begin with, are Lightroom and Snapseed.
When editing photos, keep in mind that you shouldn’t do too much editing. You might have come across a photo or two with excessive filter or editing, and they aren’t visually appealing, to say the least. This is especially true with food photography—you would want to make your food look as real as it is.
Some photo editing features for food photography include:
- Brightness and contrast - To make the details in your photo look more defined, emphasize the dark areas where they are appropriate and highlight the brighter ones.
- White balance - As was mentioned earlier, warmer tones make food look more appetizing. So start by adjusting the white balance to add warmer tones and decrease cooler colors.
- Saturation - This one is kind of related to white balance. By increasing your photo’s saturation just a bit, you can intensify its warm colors. This can turn bland food photos into mouthwatering ones.
- Sharpness - Sharpening your image can create more defined edges, emphasize texture, and reduce blurry parts of your food picture.
10. Bonus: Food Photography Tips from our Ambassador
There are a few factors we consider when choosing Rainforest Bowls Ambassadors, one of which includes great food photography skills. Here are some food photography tips from one of our ambassadors:
Ubaid & Safura (@Jaxvegancouple)


- Understand light. Light is one of the biggest photography factors.
- Add layers to create interest. Have a colorful background or subject.
- Use continuous burst for action shots photography.
- Utilize the rule of thirds and white space for food shots.
- Mix up your angles. Take photos from above, sides, and up close.
Follow @jaxvegancouple on Instagram and Facebook or visit their website at jaxvegancouple.com for more health tips, resources, recipes, and food photography tips. Download their 21-Day Meal Plan with over 70 recipes, grocery list, meal prep, and menu plans.
Summary
When taking food pictures, achieving Insta-mazing is rarely instant. It’s all about practice, practice, and some more practice. As Aristotle once said, “For the things we have to learn before we can do them, we learn by doing them.”
Most creatives at heart tend to look back at their old works, recognize the stark contrast between those works and the new ones, and admire the progress they have made. If you’re still a beginner at food photography, you can be one of these people, as long as you keep on practicing and taking food pictures.
Take inspiration from professional food photographers, but don’t get yourself lost in the process. By bringing your personality to your food pictures, you can surely make them stand out enough to stop social media users from scrolling through their feeds.
 With the right bowls and utensils, any dish will look more appetizing than it already is. Turn your meals into one-of-a-kind Insta-worthy creations with our handcrafted coconut bowls and wooden utensils. Don’t forget to tag us @rainforestbowls when you post Insta-mazing food pictures with our eco-friendly tableware!
You may also like

10 Plants You Can Grow in Coconut Planters & How to Take Care of Them

How to Clean Your Wooden and Bamboo Tableware